Contents
In this article, we’ll walk through a real-world example of cloning a Toyota 4D transponder key using Autel MaxiIM KM100 and AT100 super chip.
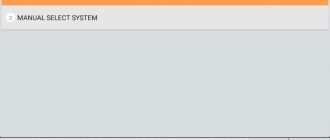
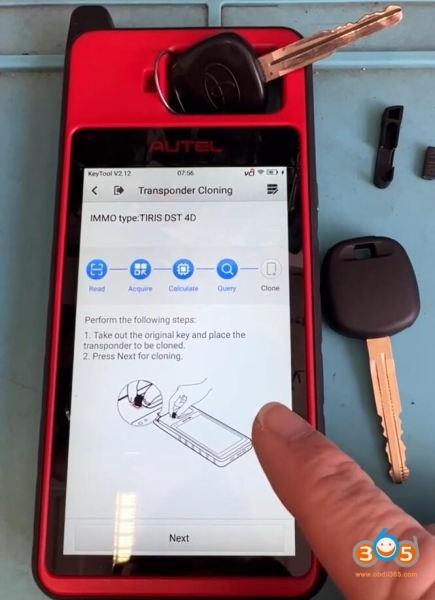
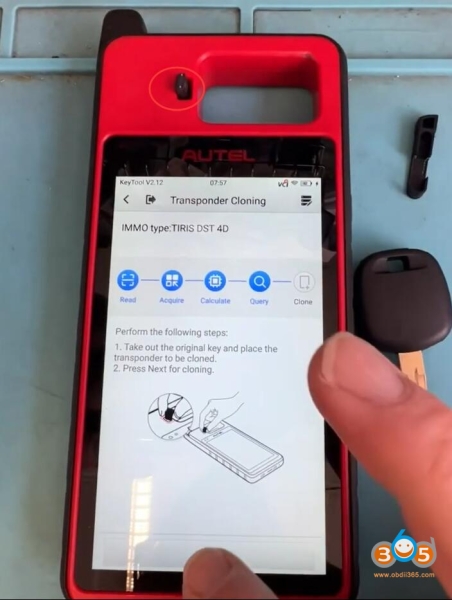
Step 1: Reading the Original Key
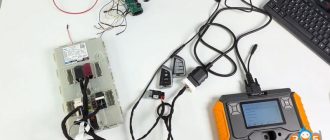
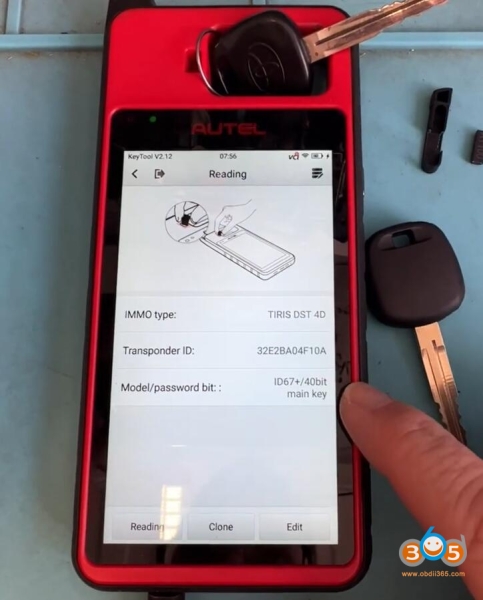
The first step in the cloning process is to read the data from the original Toyota 4D key. Using the Autel KM100, the user connects to the key via Wi-Fi and reads the necessary information. This step is crucial as it ensures that the data from the original key is accurately captured and ready to be transferred to the new chip.
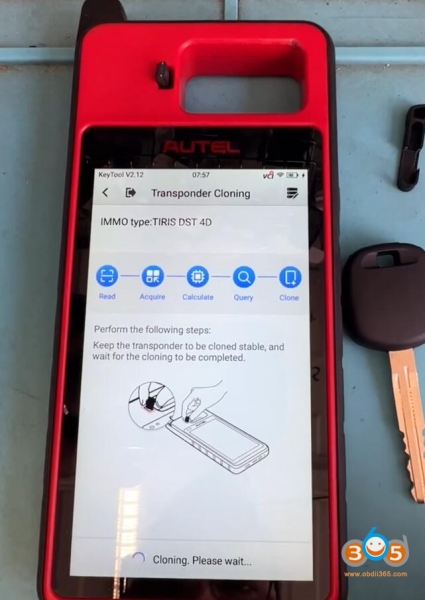
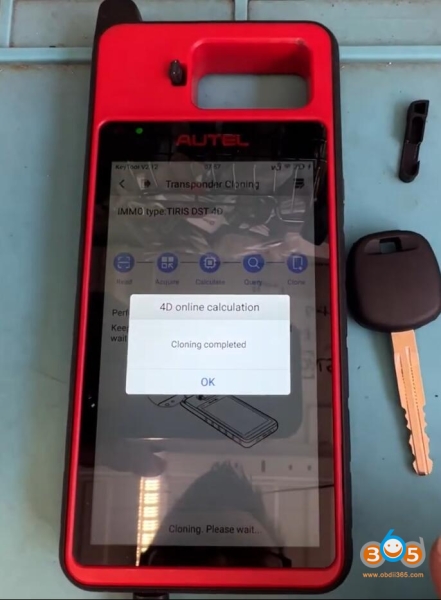
Step 2: Cloning the Key
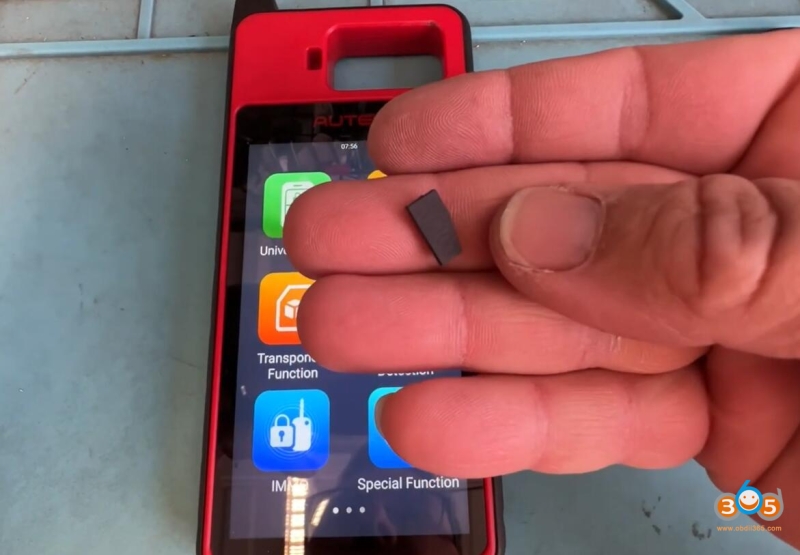
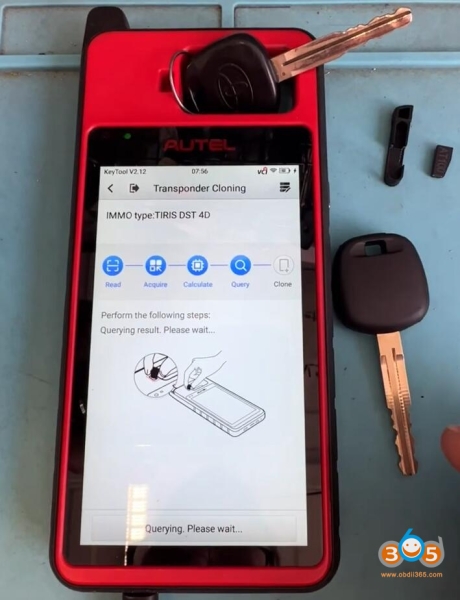
Once the original key’s data has been read, the next step is to clone it onto the AT100 chip. The user removes the original transponder from the key and replaces it with the new AT100 chip. The Autel KM100 is then used to transfer the data from the original key to the new chip. The process is straightforward, and the tool provides clear feedback once the cloning is complete.
Step 3: Testing the Cloned Key
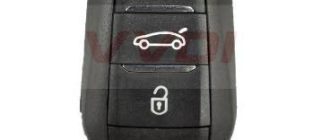
After the cloning process is complete, it’s time to test the new key. The user inserts the cloned key into a cut key shell and tests it in the vehicle. The original key is also tested to ensure that it still works correctly. This step is essential to verify that the cloning process was successful and that the new key functions as expected.

Step 4: Verifying the Data
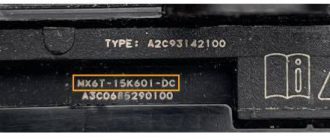
To ensure that the cloned key’s data matches the original, the user reads the information from the AT100 chip using the Autel KM100. The tool displays the data, confirming that the cloning process was successful. The user also reads the data from the original key to compare it with the cloned chip, ensuring accuracy.
Conclusion
The combination of the AT100 chip and Autel KM100 offers a reliable and efficient solution for key cloning. In this example, the tools were used to successfully clone a Toyota key, demonstrating their effectiveness and ease of use. Whether you’re working on a Toyota or a more advanced vehicle, this combination provides a powerful solution for key cloning tasks.