Here is a tutorial on how to add a spare smart key for Renault Clio 5 phase 1 up to 2023 with the OBDSTAR X300 Classic G3 tablet.
Tools used:
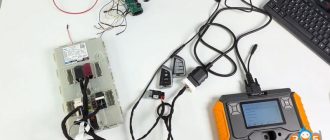
OBDSTAR X300 Classic G3/X300 DP Plus
OBDSTAR Nissan/Renault 16+32 gateway adapter
Original key
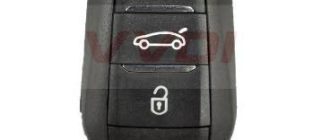
New key to be programmed
NOTE:
For AKL (All Keys Lost) on Clio V year 2022/2023, this is not possible with OBDSTAR at the moment.
However, there is a solution with Abrites, but it is very technical and involves significant risks.
Why is it risky? ️
The entire dashboard must be dismantled to access the BCM of the vehicle. ️
Soldering on the circuit board is required, meaning advanced automotive electrical skills are necessary. ️
Any mistake in the process could damage the module and make the car unusable.
If you are not an experienced automotive electrician, we recommend waiting for a more accessible solution.
Procedure:
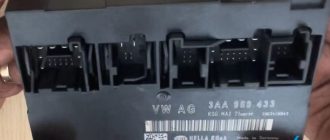
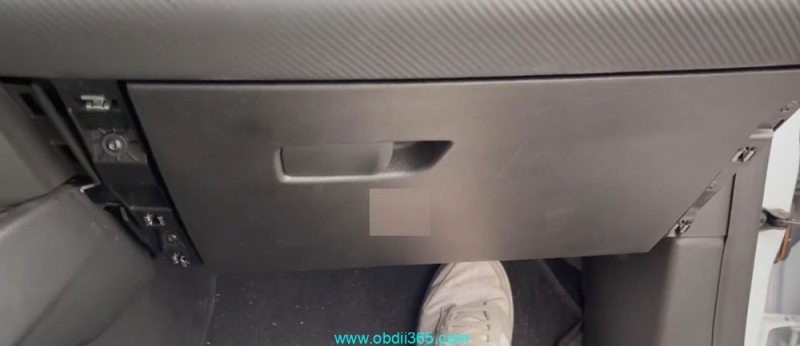
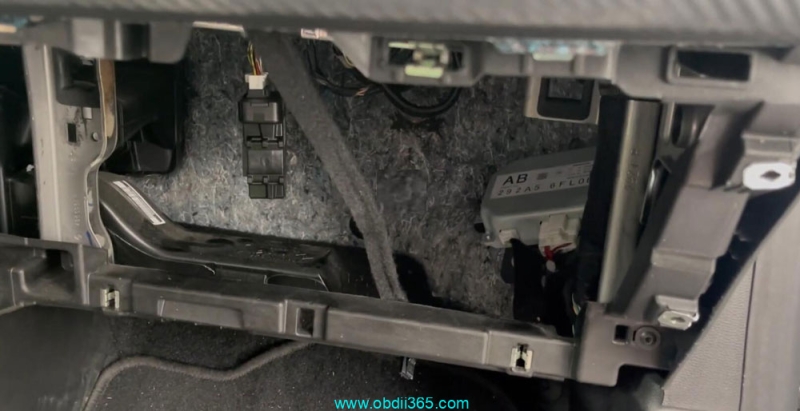
The gateway location is under the instrument cluster on the passenger side.
1st step: remove the 2 covers to access the 4 screws.
2nd step: unscrew the 4 screws with a star screwdriver.
3rd step: remove the 4 screws.
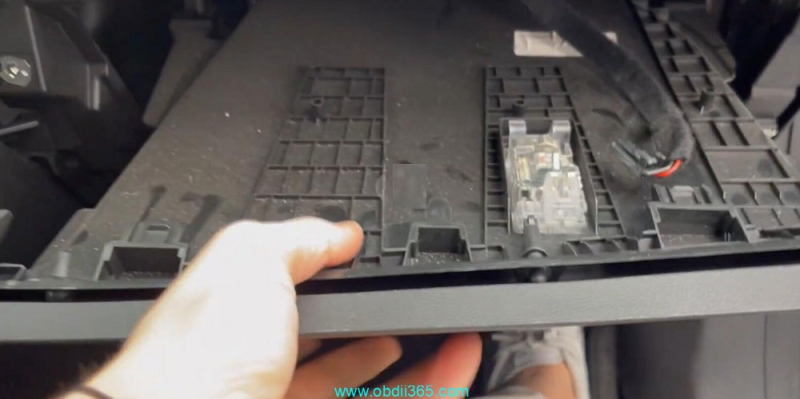
Pull the glove box towards you and don’t forget to remove the plug from the light.
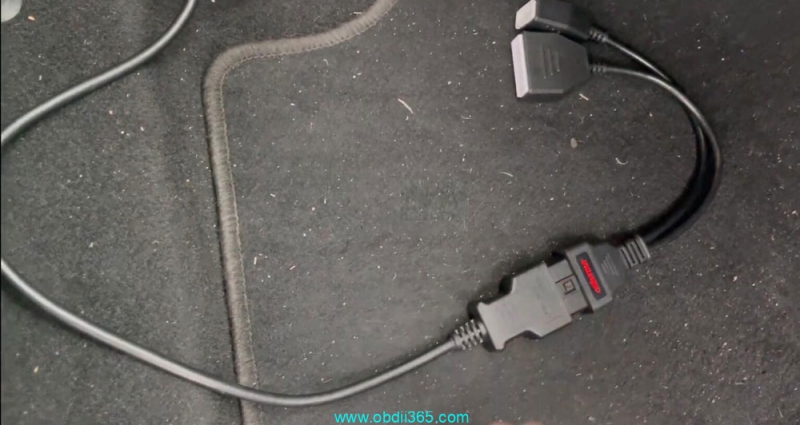
Connect the OBDSTAR 16+32 gateway adapter.
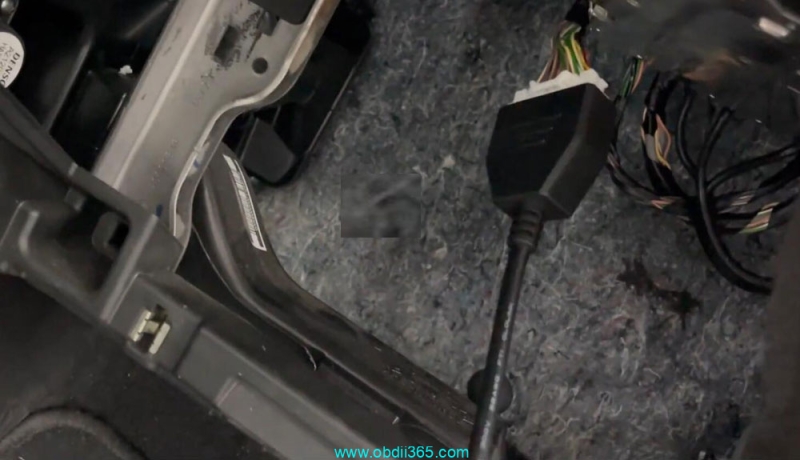
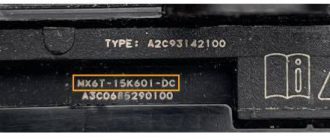
The 16+32 cable is manufactured exclusively by OBDSTAR and is not adaptable for other Autel type tablets. All FCA Renault Nissan vehicles from 2018 and above are equipped with the SGW (Safety Gateway) system to prevent access to vehicles from the OBD2 PORT via a NON-ORIGINAL diagnostic scanner.
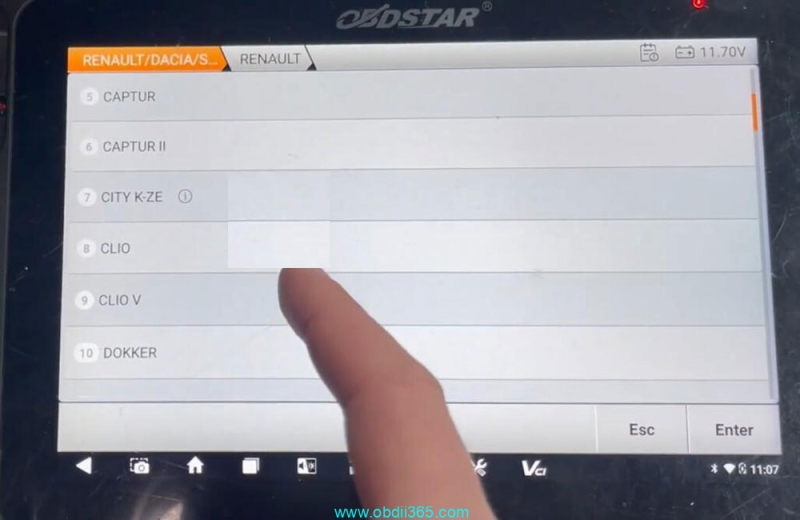
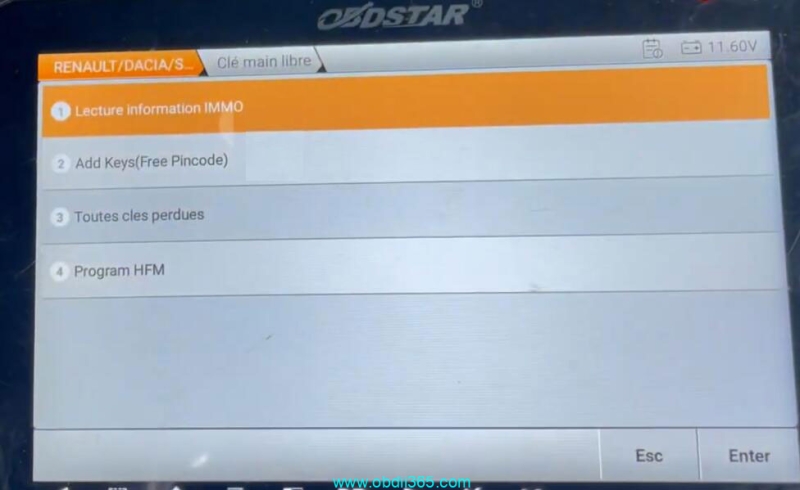
In OBDSTAR G3, select Renault- CLIO V- 2019 onwards- Hands-free key- Read immo data.
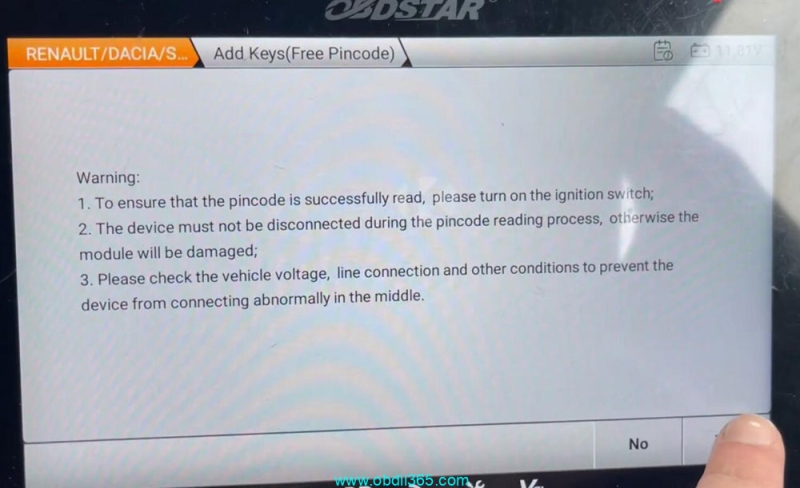
OBDSTAR will ask to connect 16+ 32 gateway connector. This function requires network connection.
Make sure you have good network connection and power supply.

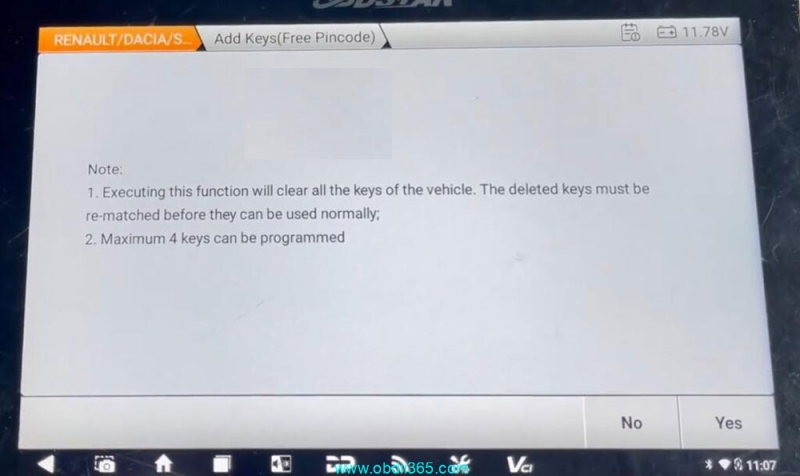
This function will clear all keys. Maximum 4 keys can be programmed.
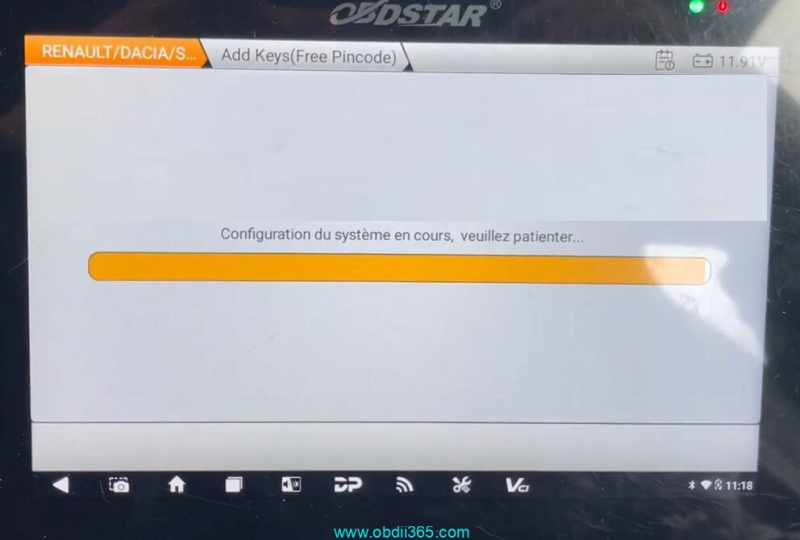
Configuring system.
Read 28-digit pin code successfully.
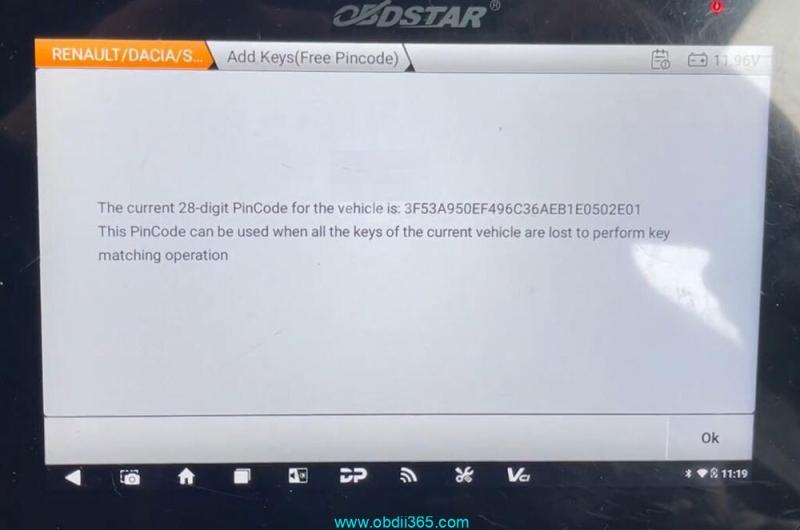
Press OK to continue.
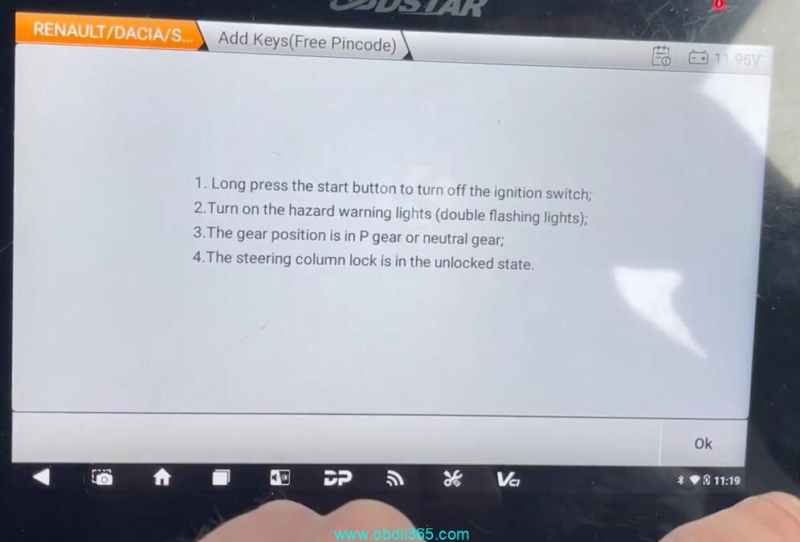
Long press the Start button to turn off the ignition switch.
Turn on the hazard warning lights.
The gear position is on P gear or neutral gear.
The steering column lock is in the unlocked state.
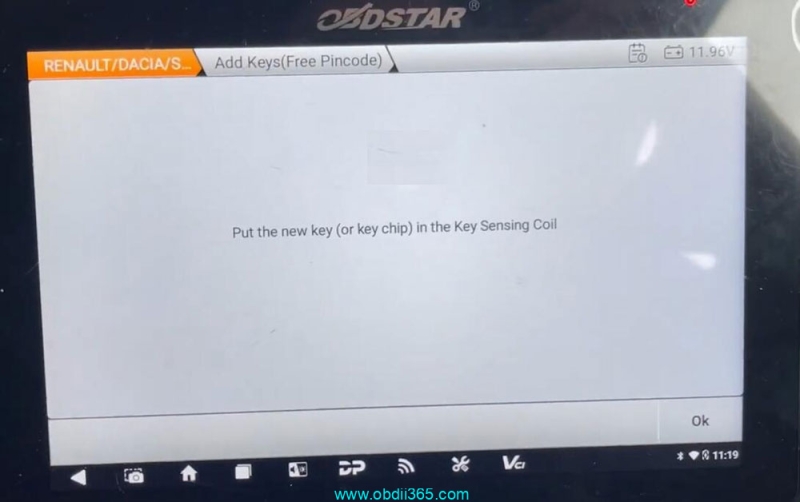
Put the new key into the sensing coil.
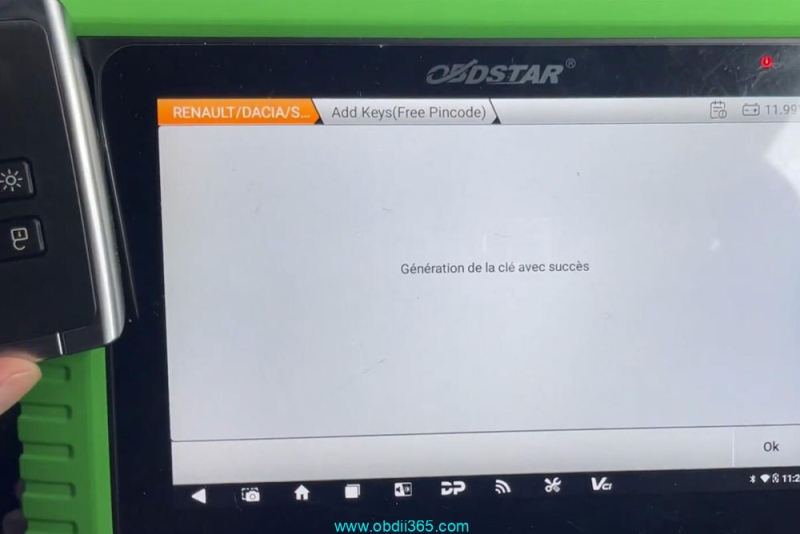
Generate key successfully.
Place the key to be programmed near the hands-free zone, which is either behind the start/stop button or in the cup holder. Here in the cup holder.
Program key successfully.
If fail to add key, try several times until succeed.
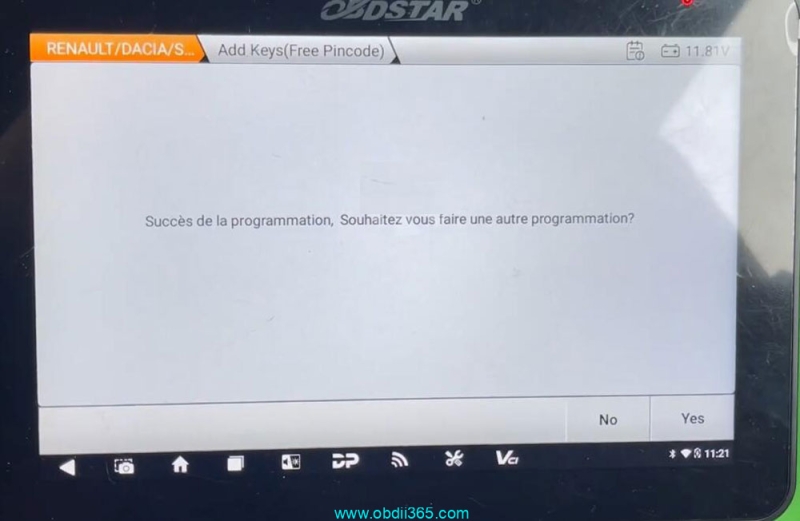
Add key successfully.
Follow steps below to program remote control:
Turn off the hazard warning lights.
Press the Lock and Unlock buttons of each smart key one by one to verify whether it is normal.
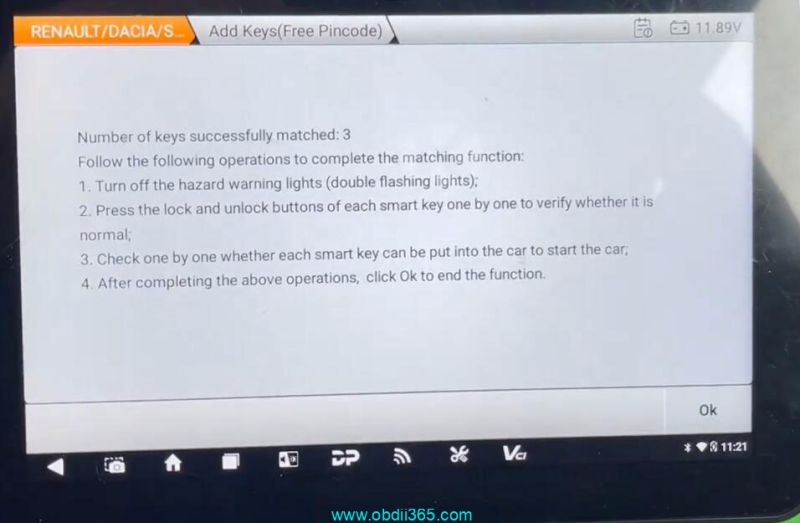
Done.
www.obdii365.com