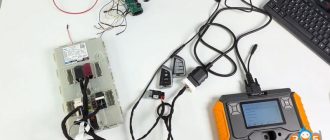
Many tools can clone Mercedes Benz SIM271DE 2.0 ECU on bench. Here we will show how to clone Benz SIM271DE 2.0 with Launch X431 IMMO Plus along with the X-prog3 programmer.
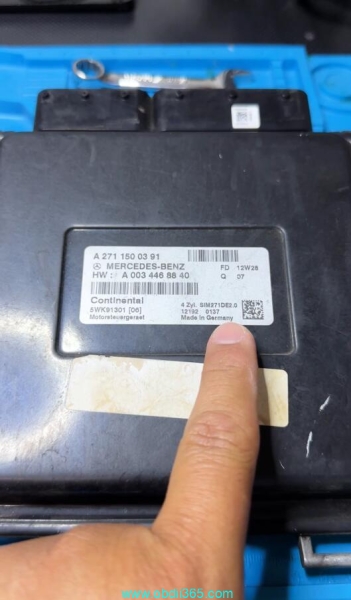
The ECM was replaced because it had burnt drivers for the coils. Something that is very common on these this particular computer style.
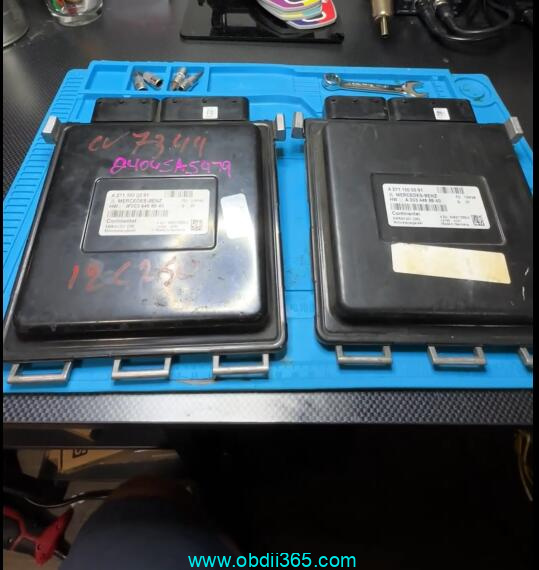
This is the original Continental SIM271DE 2.0 and the left is our used replacement that got from a junkyard.
We are going to use the Launch X431 IMMO Plus along with the X-prog3. This unit comes with the IMMO Plus whenever you buy the full package.
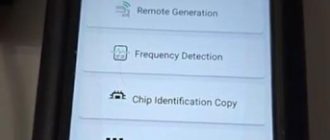
We are going to start by selecting IMMO Prog. It gives us a little diagram of how to connect the x-prog3. Once we get into the menu, we’re going to select engine, scroll down and find SIM271DE.
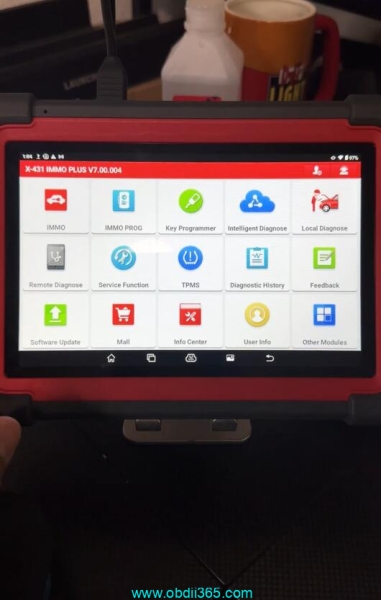
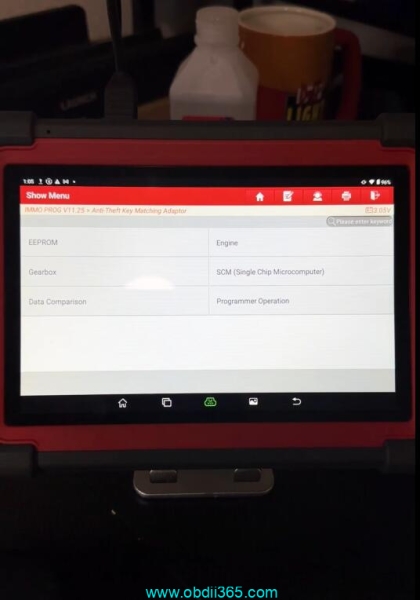
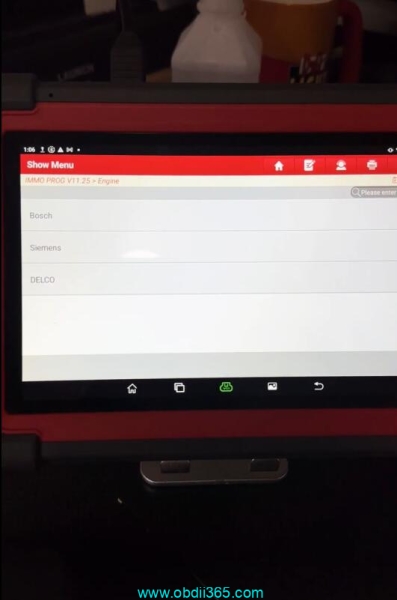
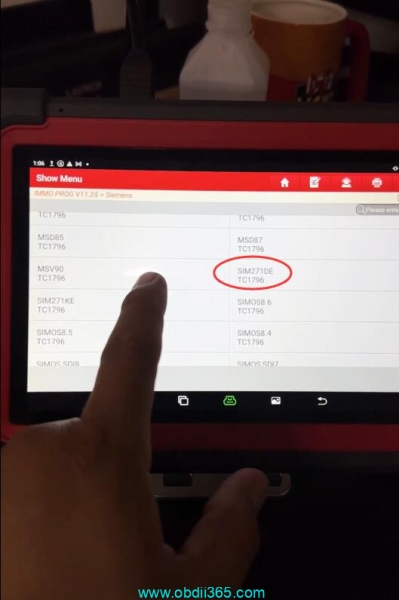
Click on view wiring diagram.
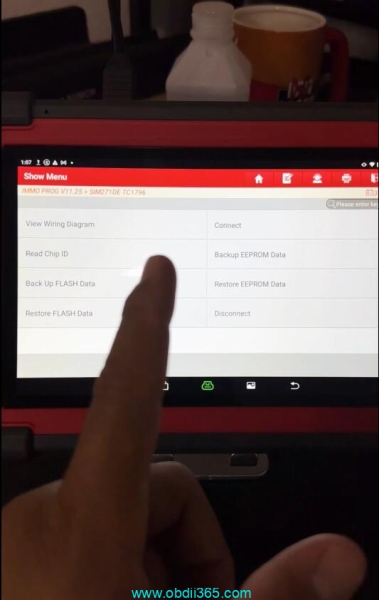
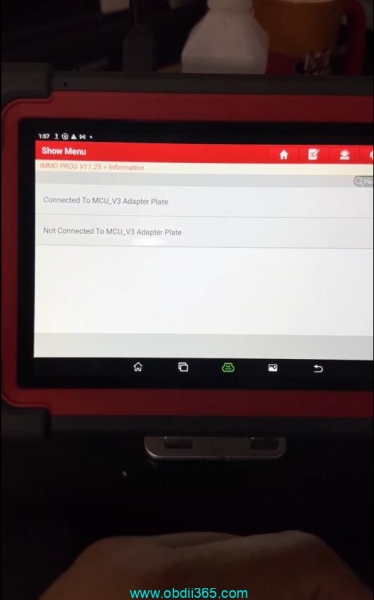
Now we have two different options of how we can do this with or without the MCU3 adapter.
In this case, we don’t need the MCU3 adapter.
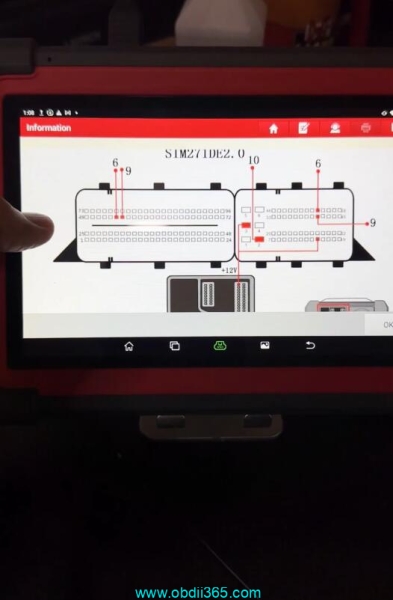
Here’s the wiring diagram. It shows us exactly where we need to connect to on the computer pins.
We are going to connect the leads from the xprog to our original computer. We’ve got our leads connected to the ECM according to the diagram.
Now launch makes this really easy they include a lot of different size and types of leads.
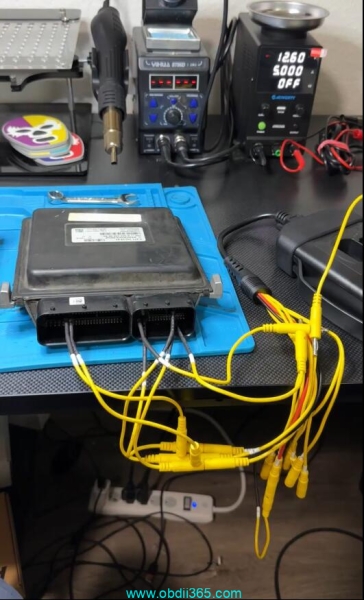
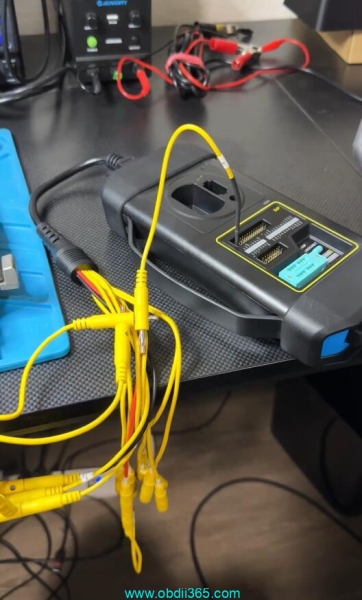
So moving back over to the main menu we’re going to start by hitting connect. Secure login and process.
Make sure you’re connected to the internet for this. We’ve successfully connected.
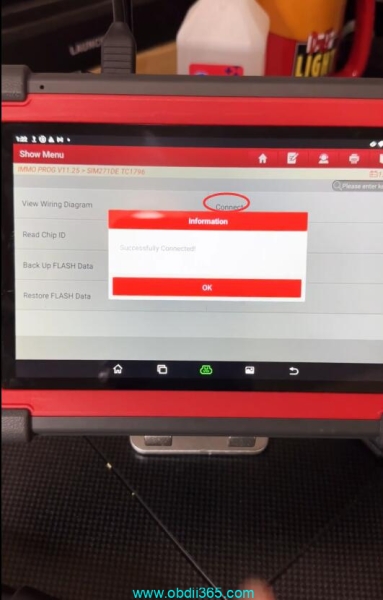
Now let’s start by backing up the eeprom data. It’s reading the eeprom. We’ll let this finish it’s done. We’ll name our file and save it.
We’ve successfully backed up the eeprom.
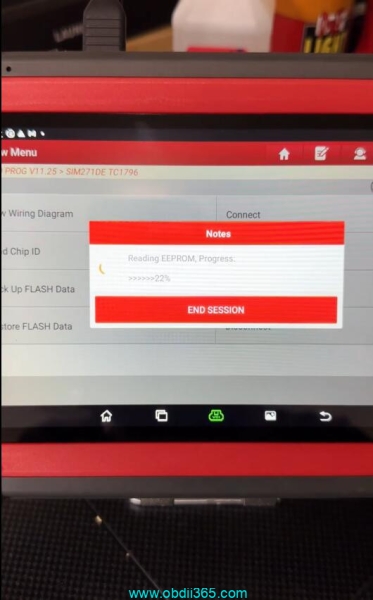
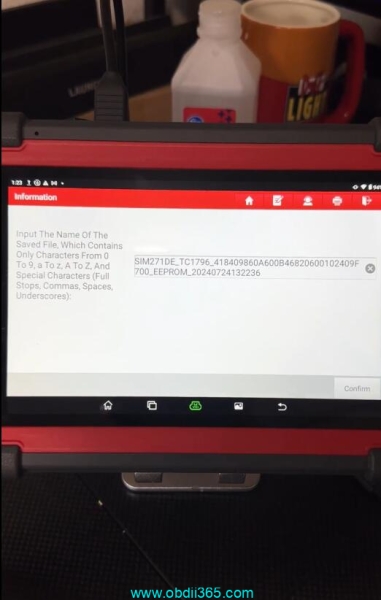
We can continue by backing up the flash data. It’s reading the flash data. We’ve successfully read Flash data. We’ll name our file and save it. Backup succeeded .
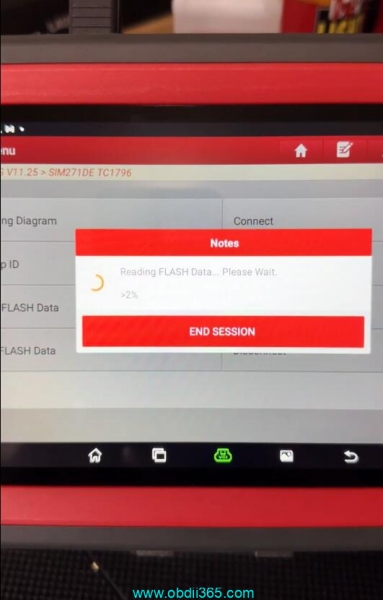
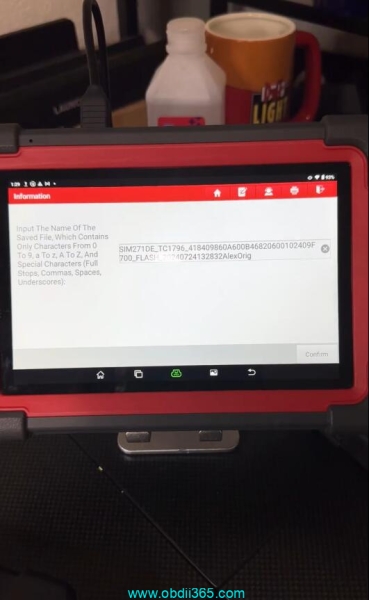
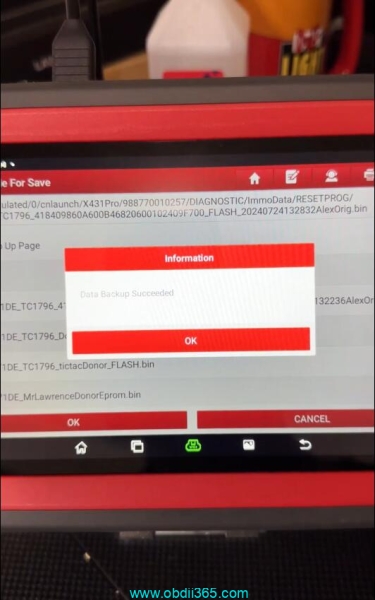
We’re going to go ahead and hit disconnect.
Move these leads over to our used replacement unit. We’ve got our leads connected to our used replacement ECM.
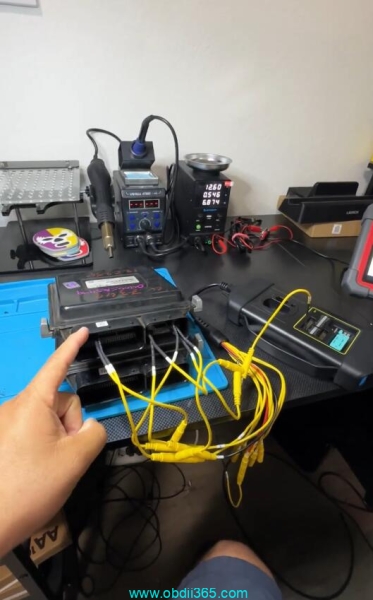
Go ahead and click connect. It’s logging in. We’ve successfully connected.
Always back up the eeprom and flash data from the donor module just in case anything goes wrong. You can always revert back.
We’re going to start by restoring the Flash data and we’re going to select our file from the original. It is now writing the flash data from our original module over to our used replacement module. Data has been successfully restored.
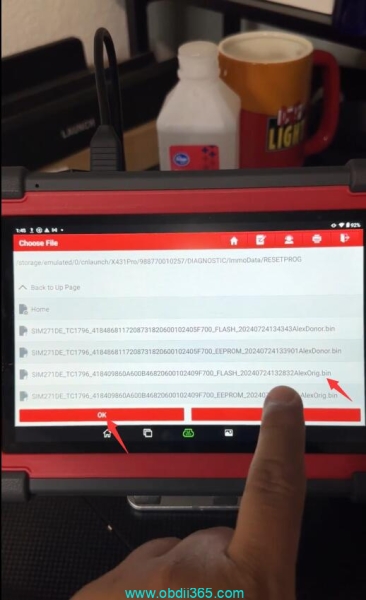
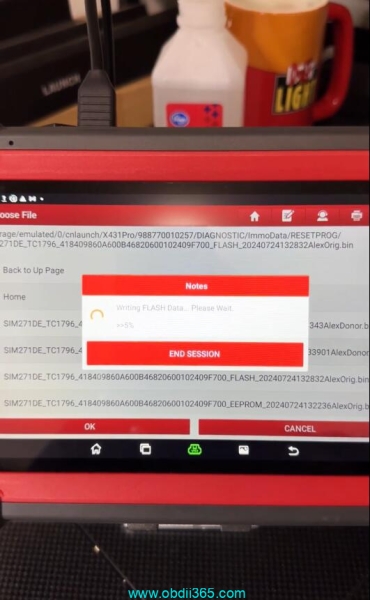
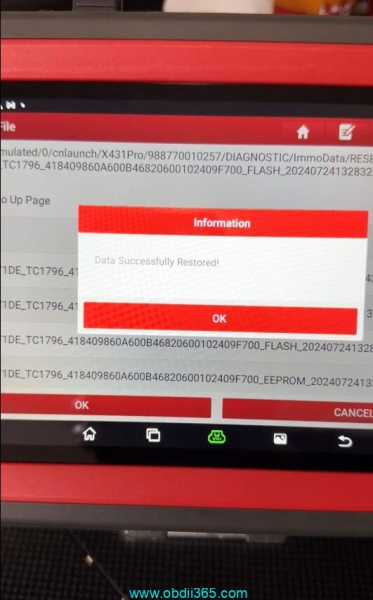
Then we’re going to restore the eeprom data. Select the original file. Now it’s writing the eeprom data from the original computer over to our used replacement module and data successfully restored.
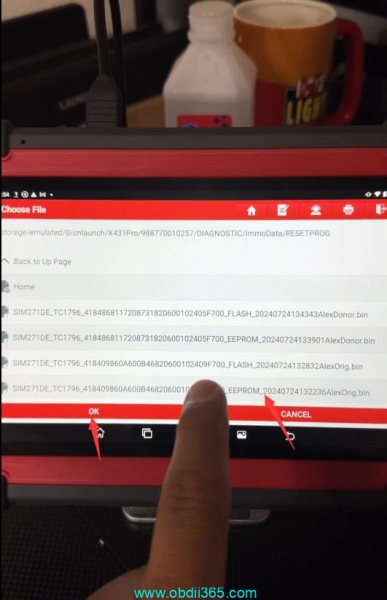
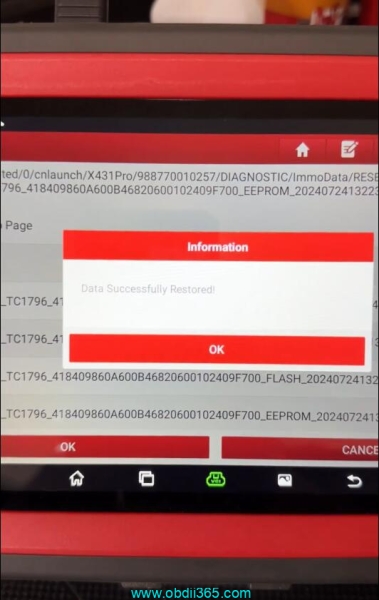
We can disconnect and remove our leads. This computer has now been successfully cloned and is ready to install into the vehicle.
That’s how you successfully clone a module using the launch x431 immo plus along with the launch xprog 3. If you’re looking to get into cloning modules and even key programming we would highly recommend investing in one of these.
Related reading:
