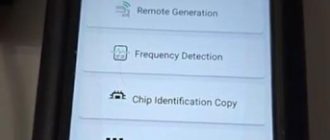
Here is the tutorial of how to use Xtool KC501 with X100 PAD3 key programmer to read remote frequency / transponder ID / chip type
Task specified:
Firstly press “FR” to test remote frequency , then press “TR” to have both transponder ID and chip type on KC501 screen.
Car key to test:
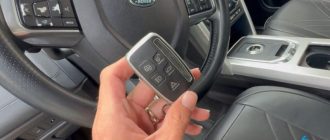
Three different car brands of keys will be tested, including VW, Range Rover and Audi.
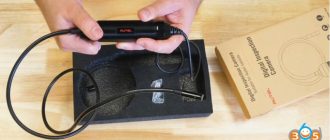
Before the test, we have to connect KC501 with power supply.
There are two different ways of supplying power to xtool KC501.

2nd method: to use the 12 DC power supply.

I will choose to use USB cable to connect with KC501.
Two buttons’ functions need to be master:
The left button “FR” is for reading key remote frequency while the right button “TR” is for reading transponder ID and chip type.
Ok, let’s begin with the first test.
Test 1. Read remote frequency
Place the car key close to the transponder area->Press the “FR” button->read data
Please follow this procedure accordingly, super easy and super convenient, right?
I will use the VW key as an example to clearly show this procedure because all the keys are the same when reading remote frequency by these two devices.


One funny thing:
You can press every button on the key when reading its remote frequency, the testing data will never change.
Test 2. Read transponder ID and chip type
Please follow the instructions below to operate:
Place the car key to the vehicle key slot of KC501-> Press the “TR” button->read data
We will use Range Rover key as an example to clearly show this procedure instead.


Chip type of the key will be displayed in the first row on the screen and transponder ID in the second row. Data you need has been read successfully.
See? It’s easy and convenient if you choose the right products of XTOOL (KC501 & X100 PAD3).
